How to Compress Images to 100KB, 200KB, and 500KB
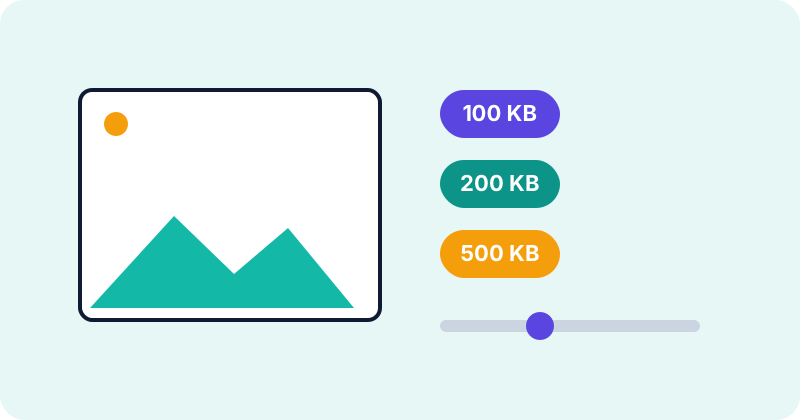
Upload forms love to say “maximum file size 200 KB” and then reject the photo you just took. A modern phone picture is often several megabytes, so it has to shrink a lot. The good news is that you can usually get there without making the picture look bad, if you change the right things in the right order.
What decides an image’s file size
Three things matter most: the number of pixels, the format, and the quality setting. A photo with twice as many pixels needs roughly twice as much data at the same quality. That is why resizing is often more effective than squeezing the quality slider.
A simple way to plan: bytes per pixel
Divide your target size by the number of pixels to see how tight the budget is. A 1600 × 1200 image has 1,920,000 pixels. For a 200 KB target (204,800 bytes) that is about 0.107 bytes per pixel. For 100 KB it is about 0.053, and for 500 KB about 0.267. The lower the number, the harder the compression must work. If the figure looks tiny, reduce the dimensions first. This is a planning aid, not a promise, because busy photos need more data than smooth ones.
Step by step
1. Check the dimensions
If the image is 4000 × 3000 but will be shown at 800 pixels wide, you are carrying far more detail than anyone will see. Use the Image Resizer to bring it near the size you need while keeping the aspect ratio.
2. Pick the format
For photographs, JPEG or WebP usually gives the smallest files. PNG is lossless and tends to be large for photos, so converting a photographic PNG to JPEG or WebP often saves the most. If the image needs transparency, keep PNG or use WebP.
3. Lower the quality gradually
Open the Image Compressor, load the file, and move the quality slider down in steps, for example 85, 75, 65. Look at the preview at full size each time. Stop when the file size fits or when you start seeing blocky patches around edges.
4. Check the final number
Note whether the upload form means 1 KB = 1,000 bytes or 1,024 bytes. If you are right on the limit, aim a little under it.
Worked example
Say you have a 2.4 MB photo and a 200 KB limit. Resizing from 4000 × 3000 to 1600 × 1200 cuts the pixel count from 12 million to 1.92 million, which is 16% of the original. At that size, a moderate JPEG quality may land near the target. If it is still at 260 KB, lower the quality in small steps until it drops below 200 KB. Your own numbers will differ; the point is the order: resize, choose format, then tune quality.
Common mistakes
- Compressing a file repeatedly. Each lossy save loses a little more detail, so always start again from the original.
- Using quality alone on a huge image, which forces very low quality.
- Saving screenshots with text as heavily compressed JPEG, which makes text fuzzy.
- Forgetting that the tool output replaces transparency with white when saved as JPEG.
Limits and tips
No tool can promise an exact result such as precisely 100 KB for every picture. Results depend on the content, dimensions and format. Keep the original, name outputs clearly, and preview before uploading. Metadata such as camera information is not kept when the image is redrawn in the browser.
Which target fits which job
The three sizes in the title tend to appear in different situations. A 100 KB limit is common on forms that accept small profile pictures or signatures, where the image is shown tiny. 200 KB often suits identity-style photos and document scans on application portals. 500 KB is a typical ceiling for pictures that will be looked at more closely, such as product images or attachments. Always read the actual rule on the form, because many sites also specify exact dimensions, a file type, or a minimum size.
Why some pictures are harder to shrink
JPEG and WebP save space by simplifying fine detail. Smooth areas such as a plain wall or sky compress very well. Grass, fabric, fine text, film grain and noise from a dark photo do not, because every pixel differs from its neighbours. If two pictures have the same dimensions but one needs far more kilobytes, this is usually why. For hard images, reducing the dimensions helps more than pushing the quality slider to its minimum.
Judging quality properly
- Zoom the preview to 100% instead of judging a thumbnail.
- Look at edges of text and faces, where blockiness shows first.
- Check smooth gradients such as skies for visible banding.
- If the image will be printed or stamped, check small details such as numbers.
A worked scenario
Suppose a portal wants a photo under 200 KB, and your picture is 3000 × 2000 pixels at 2.4 MB. At 6 million pixels, hitting 204,800 bytes would need about 0.034 bytes per pixel, which is extremely tight. First reduce the picture to around 1200 × 800, which is 960,000 pixels and about 0.213 bytes per pixel for the same limit. Then try quality 80, 70 and 60 in turn. Most photos of ordinary subjects land under the limit somewhere in that range, but a noisy or highly detailed image may not, and the only honest way to know is to try.
If you still cannot reach the limit
- Reduce the dimensions further, but keep to any minimum size the form requires.
- Switch to WebP if the form accepts it, or to JPEG if the source was PNG.
- Crop away unnecessary background in a photo editor, because fewer pixels means fewer bytes.
- Retake the photo in even lighting. Dark, grainy photos are the hardest to compress.
Before you upload
Open the downloaded file, not just the preview, and check that it looks right. Confirm the extension matches the format, the file size is below the limit with a little to spare, and the dimensions meet any stated minimum.
Conclusion
Shrink the dimensions, pick a suitable format, then lower quality a little at a time. Check the size, and stop as soon as you are under the limit.
Try the tools
Frequently asked questions
Can I hit exactly 100 KB?
Not reliably. You can get close by adjusting quality and size, but the result depends on the image.
Is 100 KB enough for a passport-style photo?
That depends on the dimensions and the requirements of the site you are using, so check their instructions.
Is WebP always smaller than JPEG?
Often, but not always. Compare both for your image.
Why did my PNG barely shrink?
PNG is lossless, so the quality setting has little effect. Convert photos to JPEG or WebP.